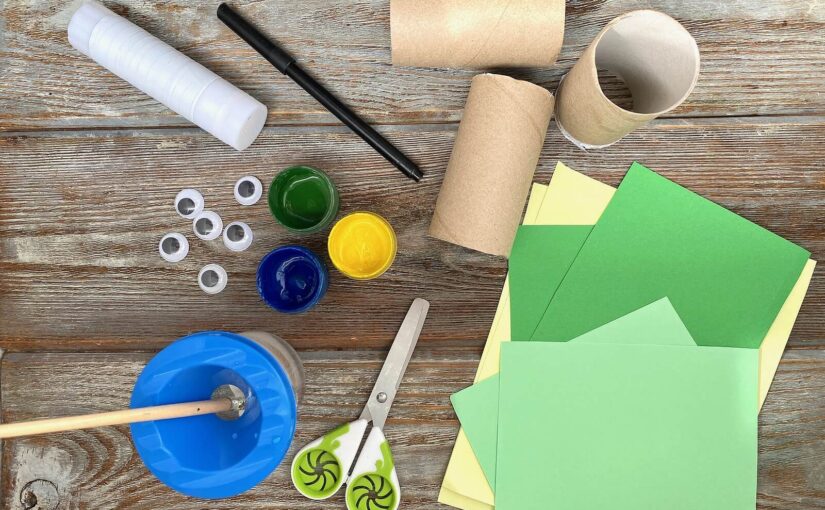
As parents, it’s crucial that we teach the concepts of reuse and recycling early on to our children, and what better way to do so than through fun kids’ craft ideas that reuse waste items?
In this blog post, we’ll explore four easy upcycling ideas for kids that they will love – from fairy houses to blossom-covered trees.
These upcycling ideas for children are perfect for a rainy day when you’re stuck indoors, need to keep the kids entertained, and want them to learn something.
Depending on your child’s age, you could boost the educational aspect of the projects by sitting with them and talking to them about the materials they are using — what their original purpose was, and why it’s important to consider every purchase carefully and reuse waste where we can.
Before we jump into the ideas, here’s a quick safety note. Please supervise your children at all times when crafting and help them, as required, when they are using scissors, glue, and other potentially dangerous items.
With that said, let’s get eco-crafting!
1. Plastic bottle fairy house

Plastic bottles come in a wide variety of shapes and sizes, which is great news for children who would love to create a small village of magical fairy houses.
Equipment
- A plastic bottle (or several, for multiple fairy houses) — the more unusual the shape, the better
- Acrylic paint in various colours (and paintbrushes)
- Permanent markers in various colours
- Scissors
- Extra items for decoration, such as flower shapes, stones, shells, gems, etc.
- Glue — a hot glue gun might be most helpful for attaching embellishments
Method
A fairy house can be as basic or as complicated as you want to make it, which makes this project ideal for a wide age range of children.
Firstly, choose a bottle and, if it’s not already the colour your child wants their fairy house to be, they can apply a base color using acrylic or spray paint.
Next, a door and windows need to be carefully cut out.
From here, the fairy house is down to your child’s imagination.
Offer them permanent markers, paints, and a selection of extras to design a unique and magical fairy house.
If making several houses, it would be a good idea to do all the base coats at once so they can be drying while your child works on their first house.
2. Egg carton raincloud mobile
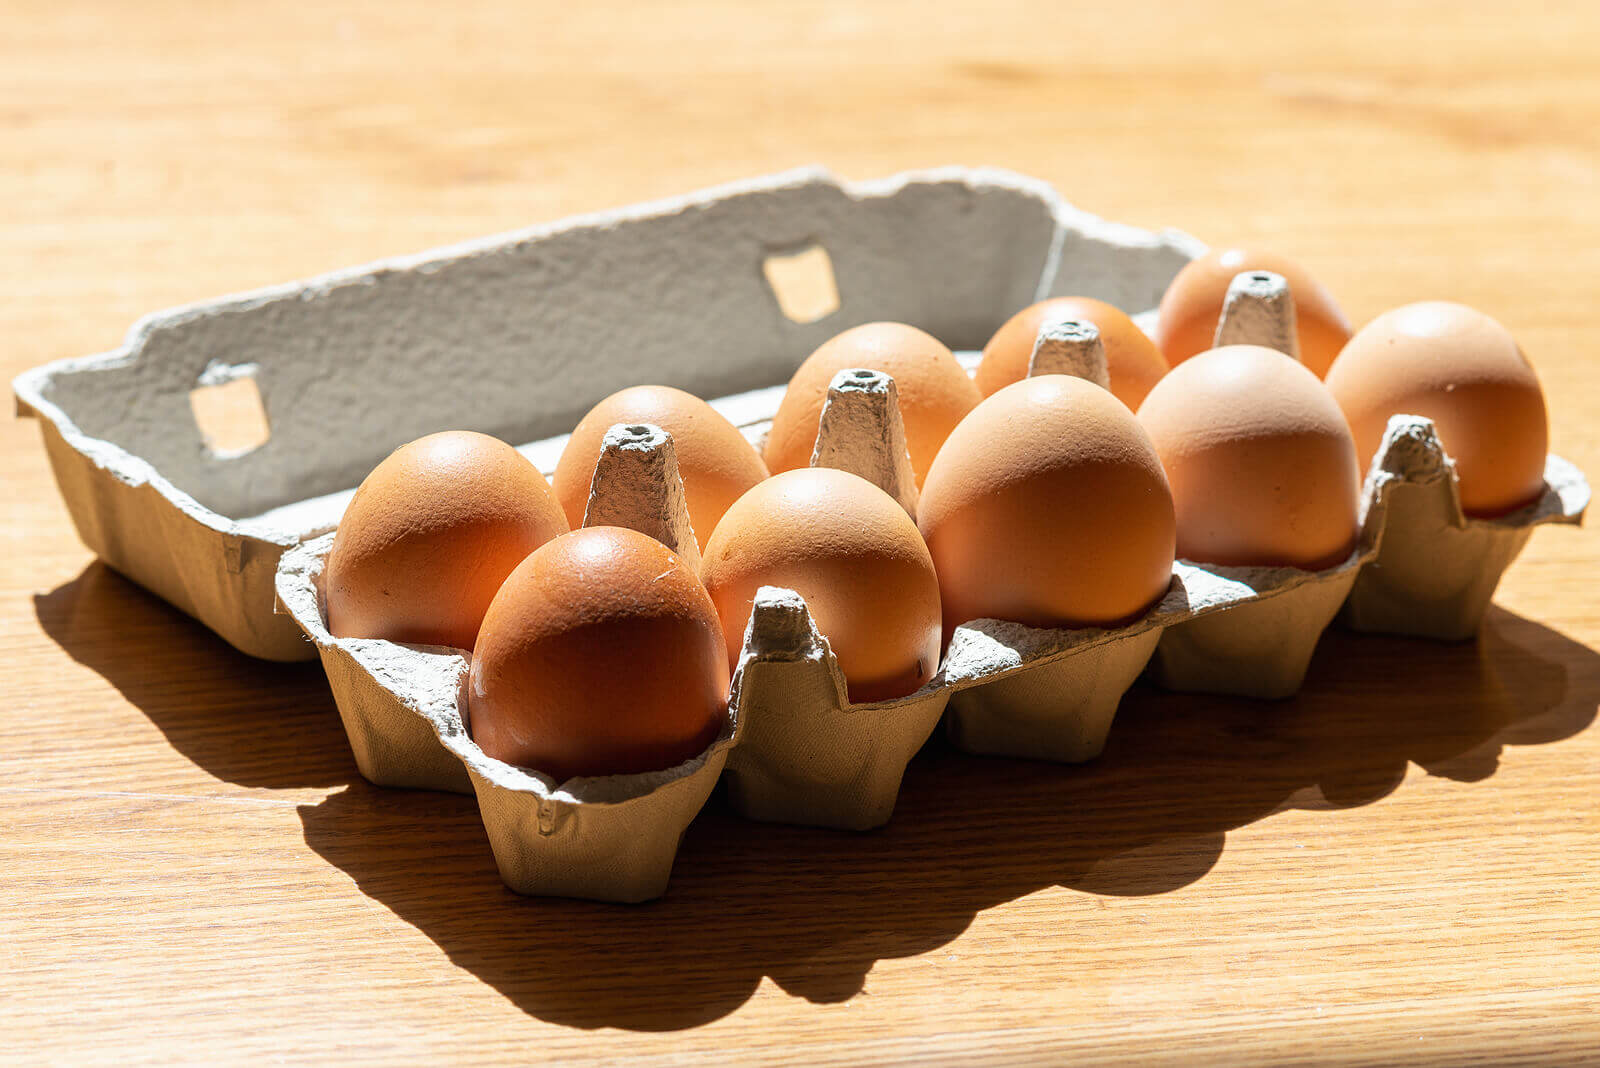
This is a lovely mobile project to display in your child’s bedroom or perhaps in your kitchen or hallway.
Equipment
- Several egg cartons
- A cereal box
- Blue acrylic paint (and paintbrush)
- White paper
- Cotton wool balls
- A pencil
- String
- Craft glue
- Scissors
Method
Start by gluing a sheet of white paper to the front and back of a piece of cardboard from the cereal box.
Next, cut out a large cloud shape from the cardboard that’s covered in the white paper.
Cut the cups off the egg cartons (the sections that the eggs sit in), paint them blue on the outside (and inside, if you wish), and leave them to dry. You can use as many cups as you wish, as these will be your raindrops.
While the cups are drying, unravel cotton wool balls and glue them to one side of the white cloud. Then, turn the cloud over and cover the other side in cotton wool swirls, too.
When the cups are dry, poke a hole in the top of each (centrally) using a pencil and string them onto several pieces of string — one at a time — using a knot below each to keep them in place.
The size of your cloud will determine how many strings of raindrops you need to make, and the length of each piece of string will determine how many raindrops you use.
Finally, attach each string to the raincloud by making a hole and knotting them on. Add one final hole in the top of your cloud and use a piece of string for hanging purposes.
Display your raincloud with pride!
3. Tissue box monster
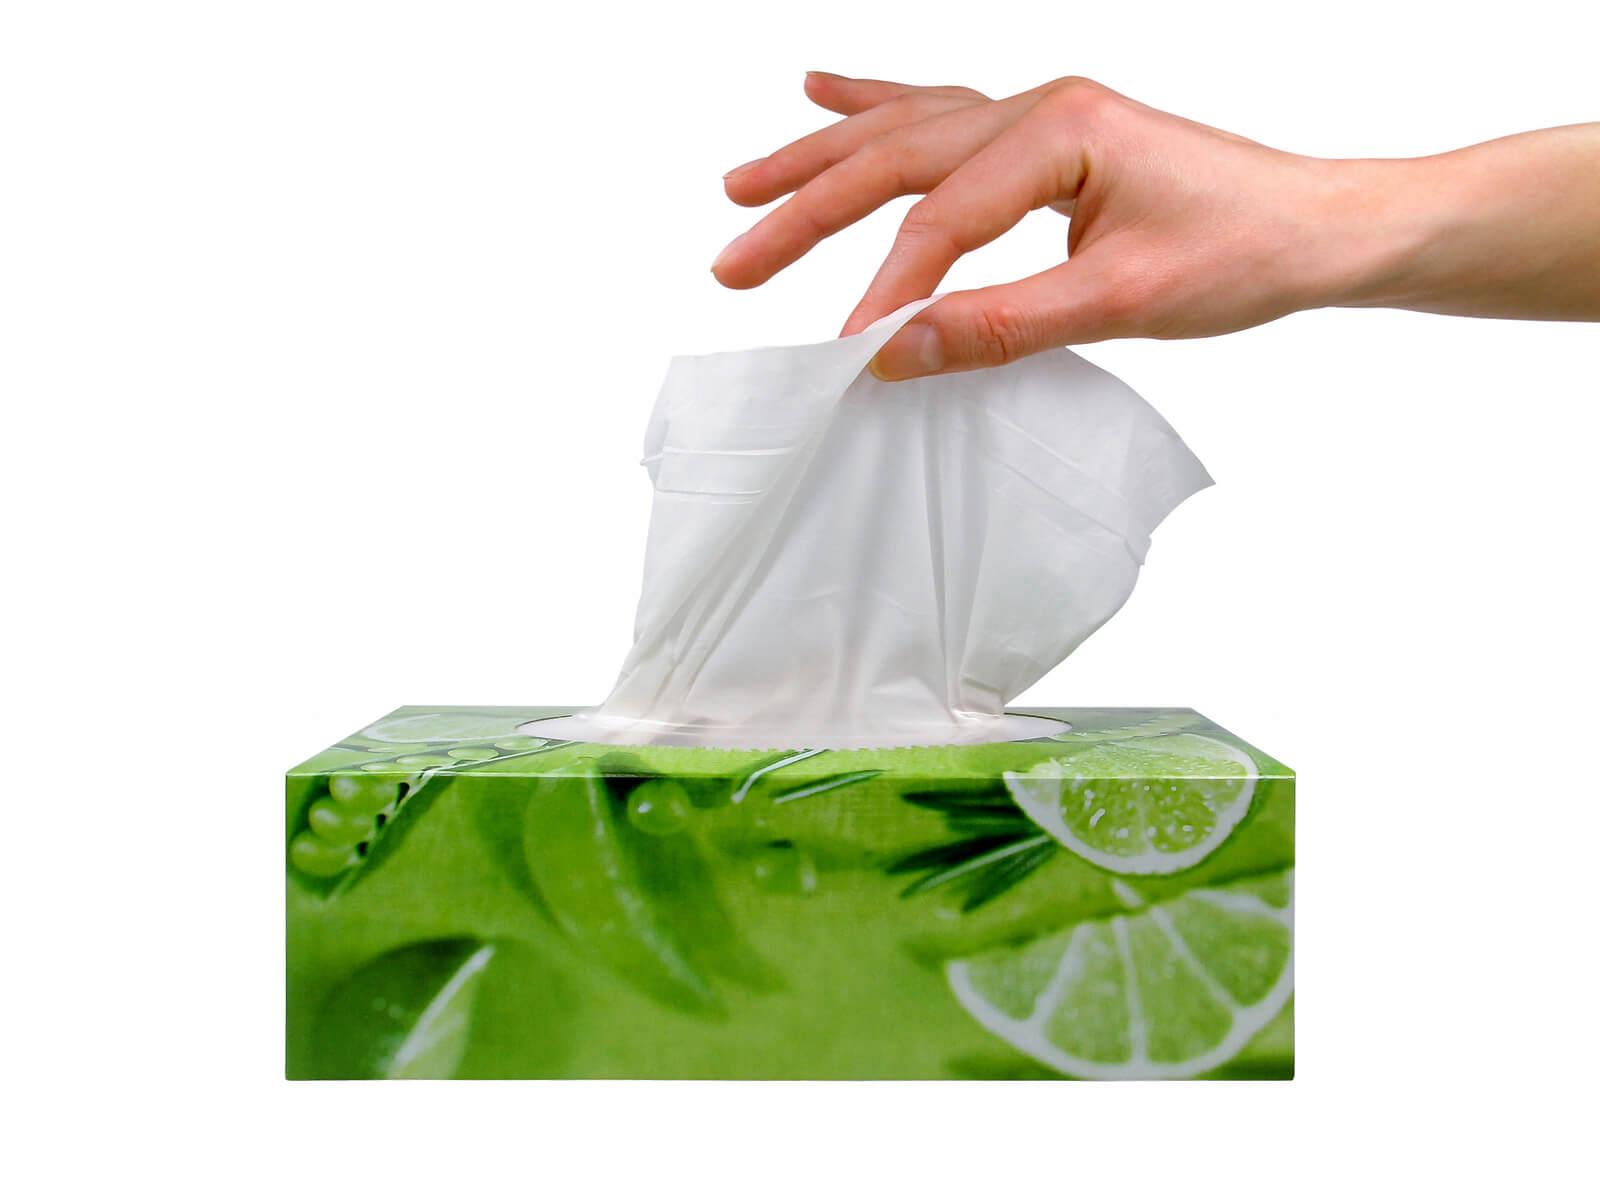
If your children love monsters, then they will adore this quick and easy upcycling idea.
These monsters can be basic or highly detailed, making them suitable for kids of any age.
Equipment
- A tissue box (or several, for multiple monsters)
- An egg carton (or several)
- White card or white craft foam
- Acrylic paint (and paintbrush) — and you might decide to use spray paint for the base colour
- Scissors
- Craft glue
- Googly eyes (optional)
- Additional bits for decoration, such as pipe cleaners for legs
Method
Remove any plastic from your tissue box, leaving just a cardboard box.
Apply a base colour of your child’s choice to the entire box, using either spray paint or acrylic paint, and leave to dry.
In the meantime, cut the cups off an egg carton.
The cups can be left unpainted, with just a googly eye added to each, or your child might like to paint an eye on each instead.
Alternatively, they might wish to paint the entire cup before adding a painted eye (or five) — either the same colour as the box or a contrasting colour.
Next, cut out some teeth in one long piece from the white card or craft foam and then glue them to the inside of the tissue box opening.
Finally, the tissue box can be decorated with paint, additional googly eyes, pipe cleaners, or whatever you have lying around at home.
4. Toilet roll tube handprint tree
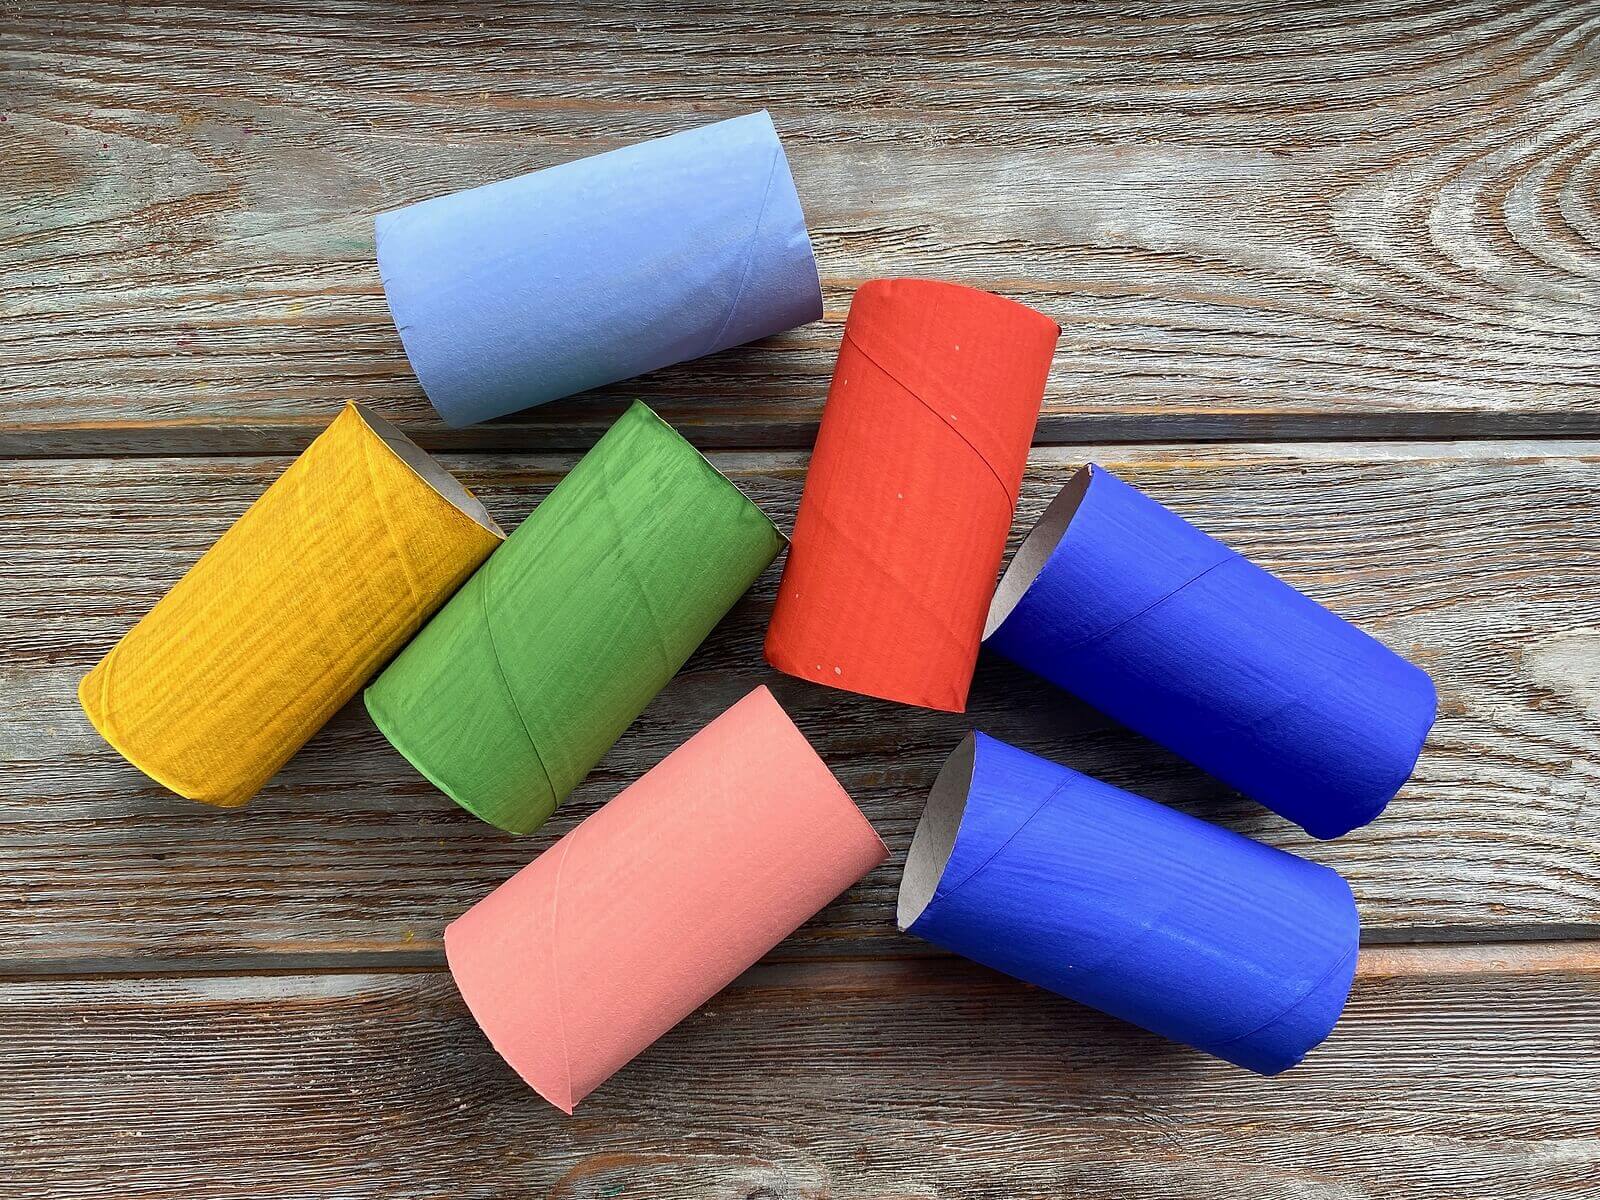
This project is extra special as it features your child’s handprints and makes a lovely display item in spring, or all year round.
Equipment
- One toilet roll tube
- A cereal box
- Thick green paper
- Acrylic paint (and paintbrush)
- Pink (or pink and white) tissue paper
- Craft glue
- Scissors
Method
To begin, get your child to cover their hands in brown acrylic paint and press them onto the green paper. Repeat this, so you have four handprints.
Paint the toilet roll tube in brown paint. This is now a tree trunk.
Leave everything to dry while your child washes their hands, then cut around each dried handprint separately, following the contours of the fingers.
Glue each handprint to a piece of the cereal box and cut them out in the same size and shape. These are now your tree branches.
Next, layer the tree branches and glue them into a tree shape.
Use the scissors to cut two slits into the bottom of the handprint section to slot onto the top of the toilet roll tube (the tree trunk).
To finish the project, add blossom to the finger ends by screwing up small pieces of tissue paper and gluing them onto the tree.
Final thoughts
We hope you enjoyed these crafty upcycling ideas for kids. Let us know if you’d like us to share more of these ideas in the future.
If you love reusing waste materials, you might enjoy our blog post entitled ‘25 ways to reuse an empty glass jar‘.
