Skirting boards, the essential junctions between your walls and floors, protect lower walls from dirt and scuffs and give rooms a polished look. But it’s important to remove them when they’re irreparably damaged, when lifting laminate flooring, or during redecorating.
If you’re considering tackling skirting board removal yourself rather than hiring a professional carpenter or handyperson, you’re in the right place. Our comprehensive, step-by-step guide will walk you through the process from equipment and prep to removal and reuse, ensuring you can confidently remove your skirting boards without damage.
How to prep for skirting board removal
Preparing for skirting board removal involves taking actions for damage reduction and safety considerations.
Clear the room
Start by clearing the room and removing all furniture if possible. If that’s not an option, shift the furniture to the centre of the room, giving you space to move freely.
Once the furniture is repositioned, cover the floor with a large piece of fabric or plastic sheeting to protect it.
Address electrical concerns
Inspect the skirting boards for wires and cables. These are typically tacked to the top of older boards or concealed inside cable trunking in modern ones.
Disconnect any visible wiring or cabling by gently tapping each cable clip sideways with a hammer to loosen it. Then, use the hammer’s claw to lift each clip in a single upward motion.
Cables may be secured with glue. In this case, slowly reheat the glue to remove the cable.
If you suspect concealed cabling behind a skirting board or are unsure, proceed cautiously. When in doubt, it’s best to call a professional.
Consider radiators
If a radiator blocks access to a section of the skirting board, you have two options. Remove the radiator from the wall and work around it with additional tools. Alternatively, wait until your radiator needs replacing and then remove the skirting board.
By following these preparation tips, you’ll ensure a smooth and safe skirting board removal process.
Equipment for skirting board removal
To remove skirting boards, you’ll need:
- a large piece of fabric or soft plastic sheeting
- a piece of wood the same thickness as a skirting board and at least six inches long
- a claw hammer
- a retractable safety knife
- a chisel
- a crowbar
- pliers.
How to remove skirting boards
Removing skirting boards is relatively easy. But separating them from the wall without causing damage requires expertise.
It’s important to avoid harming your walls or floors, as this can lead to additional work and repairs. Extra care is also essential to preserve the skirting boards’ condition if you plan to reuse them.
Follow these three steps for successful removal.
-
Loosen the sealant
Use a retractable safety knife to cut through the sealant or decorator’s caulk at the top where the board meets the wall.
Keep the blade as close to the wall as possible to ensure clean separation and minimise paint, wallpaper, or plaster damage.
-
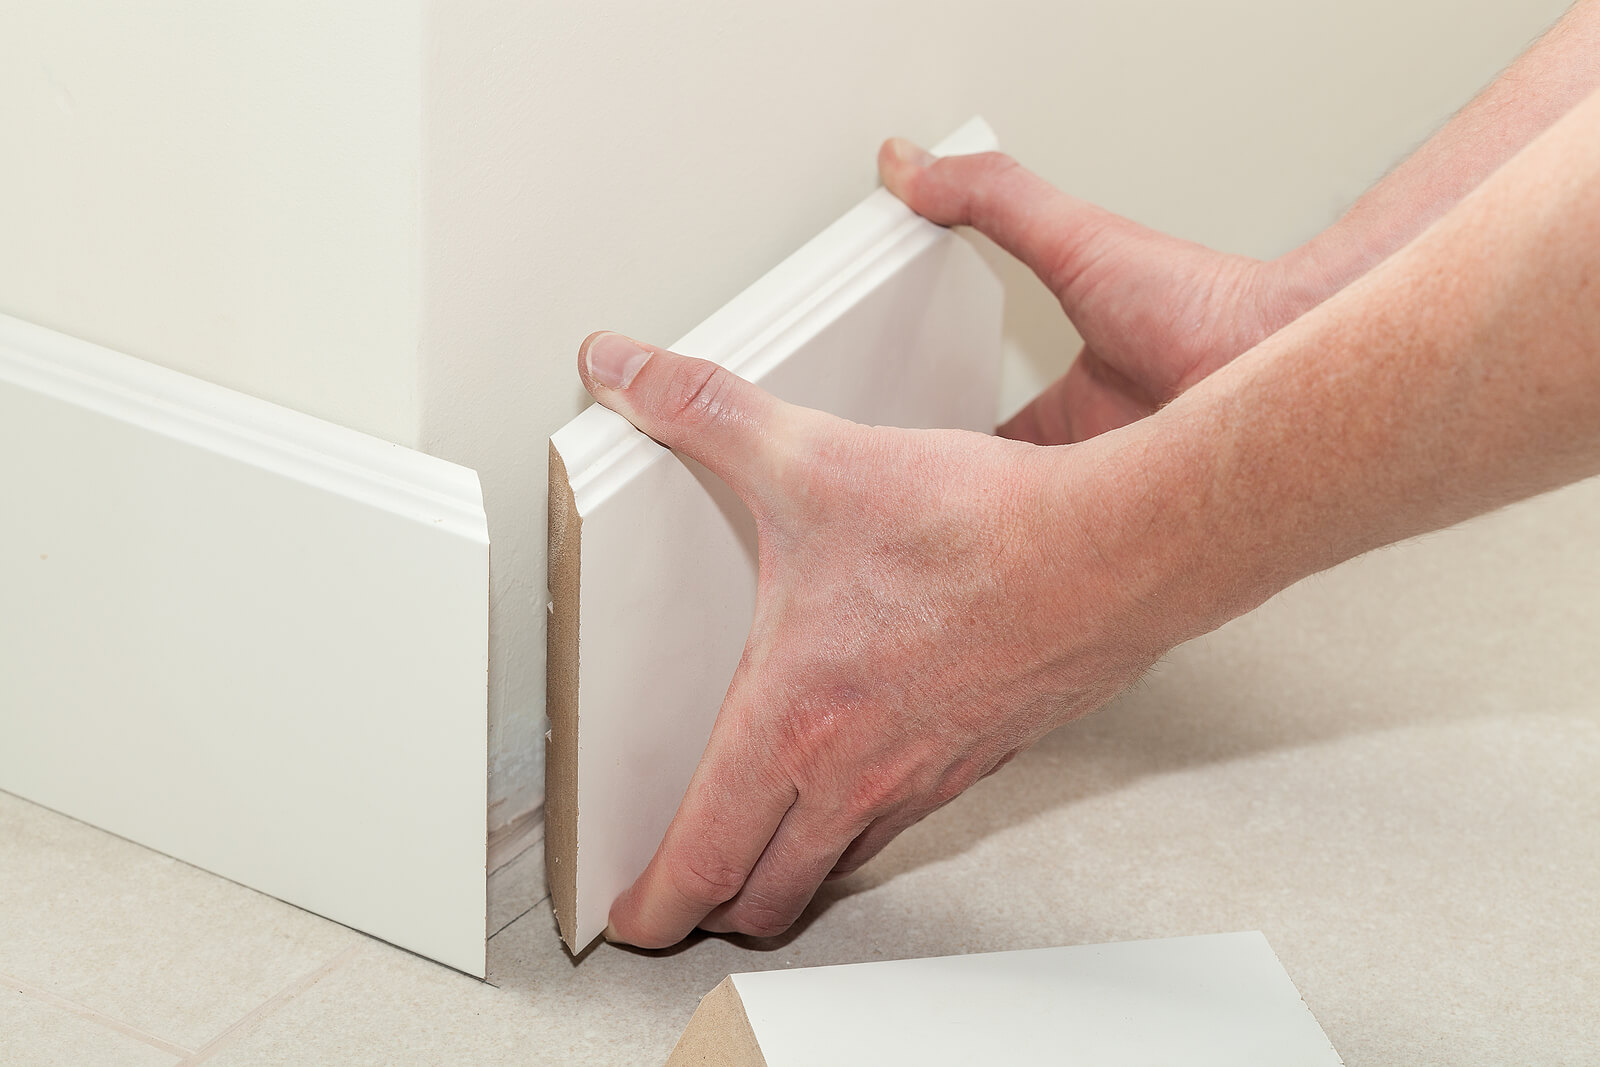
Detach the skirting boards
Skirting boards are typically nailed, pinned, or glued to the wall, making their removal challenging.
Starting in a corner of the room, gently slide a chisel behind the top of the board. Lightly tap the chisel a few times with a hammer to loosen it.
Once the top part of the board begins to come away from the wall, repeat this process every 10 inches along the skirting board. Continue until you’ve worked your way around the room.
Sometimes, a chisel and hammer will remove the skirting boards entirely. However, you might need to use a crowbar for more stubborn sections.
When using the crowbar, place a piece of wood against the wall behind the area you’re working on. The wood distributes the pressure, allowing you to apply more force without damaging the wall.
Insert the crowbar behind the skirting board, carefully pry it away, and continue this method along each section until it’s entirely detached.
-
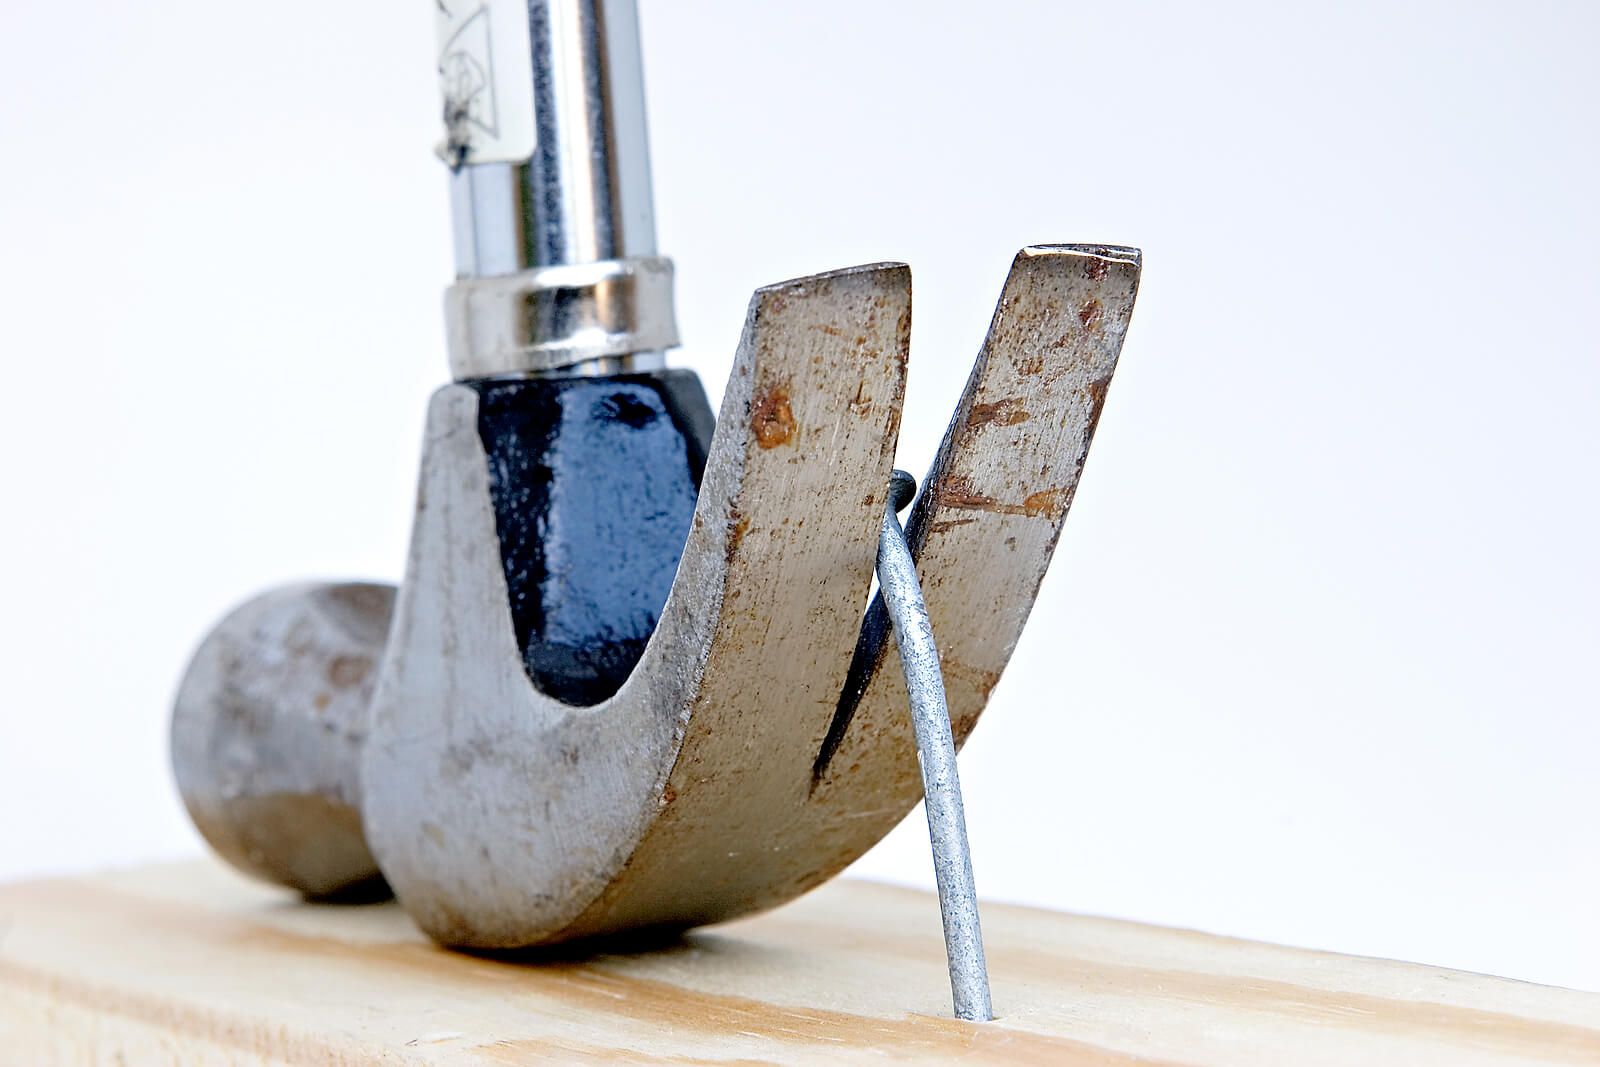
Extract remaining fasteners
Nails or pins will likely remain in the wall when you’ve removed every skirting board. Pliers should easily remove these. If they won’t budge, grab the wood you used for wall protection and use the hammer’s claw to wrench them out.
Especially stubborn nails and pins can be hammered into the wall so they’re flush with it, but you must check for pipes in the wall beforehand.
Pick up the floor covering, vacuum the room, and you’ve completed the job.
How to reuse skirting boards
To reuse skirting boards, you need to prepare the boards and plan where they’ll be fitted.
- Inspect and prepare — Ensure the skirting boards are in good condition. Check each piece for bumps and scuffs, then fill and sand them as needed. If the paint is damaged or layers of paint have obscured the board’s profile, consider sanding off the existing paint.
- Clean the back — Ensure the back of each board is free of fasteners and glue to allow for a flush installation.
- Plan the placement — Plan where the joins will meet, especially if the boards aren’t long enough to cover the entire wall length in one piece. If possible, place joins in areas that will be hidden by furniture.
Following these steps, you can effectively reuse skirting boards and ensure a professional finish.